Irresistible Adorable Mini Pumpkin Pies for Fall Delight
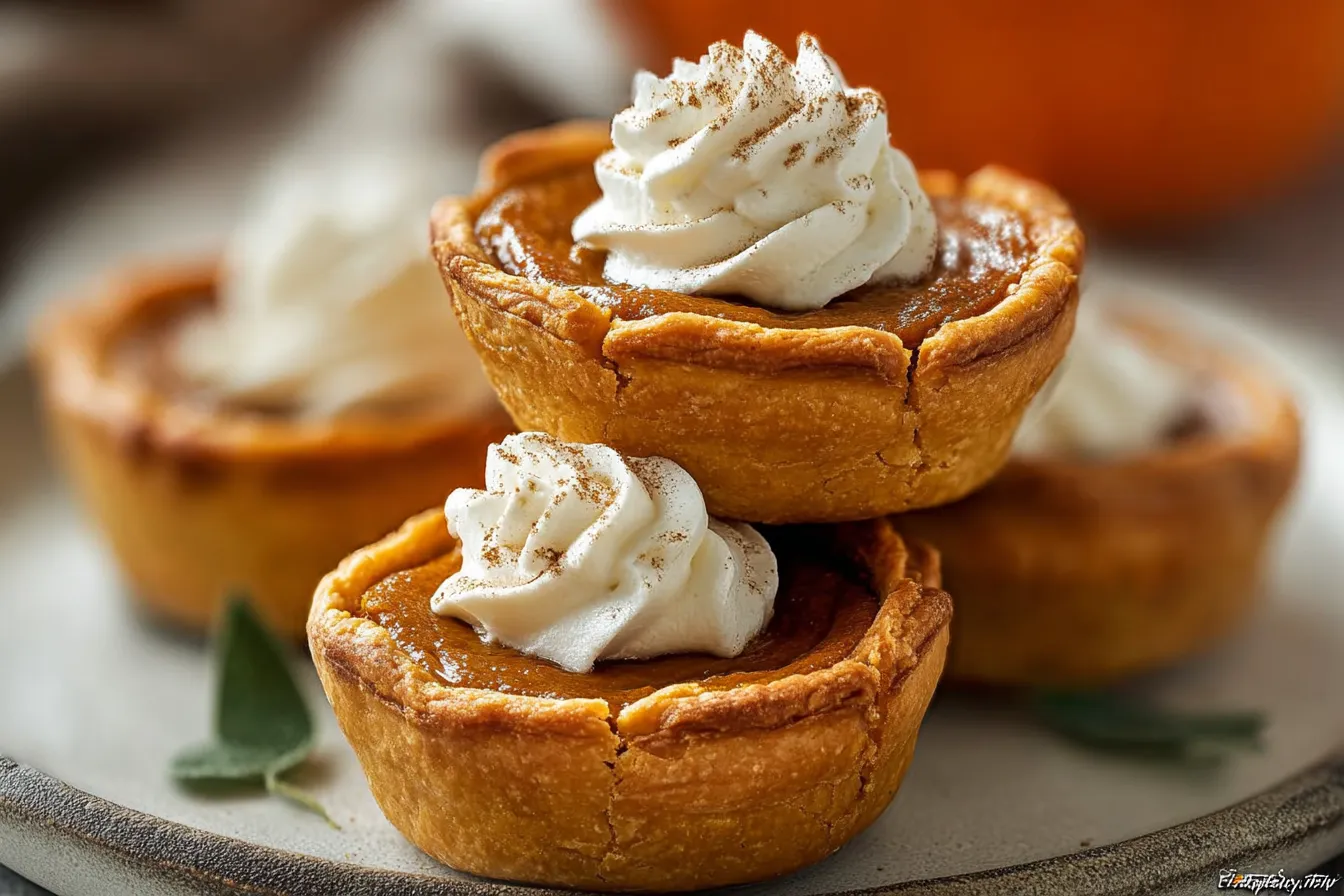
Adorable Mini Pumpkin Pies
As the leaves turn crisp and the scents of fall begin to fill the air, nothing captures the essence of autumn quite like a mini pumpkin pie. These adorable treats are the perfect blend of warm spices, creamy pumpkin filling, and a buttery crust. Whether you’re a busy parent juggling a million tasks or a college student wanting to impress your friends at a potluck, this recipe for adorable mini pumpkin pies is tailored for you. Not only are they simple to make, but they also embody the spirit of cozy gatherings and holiday celebrations. So roll up your sleeves, and let’s dive into the delightful process of making these little gems!
Why You Will Love This Adorable Mini Pumpkin Pies
Imagine this scenario: it’s a cool fall evening, and you’re expecting friends over for a cozy get-together. You want to serve something that embodies the season but don’t have hours to spend baking. Enter these adorable mini pumpkin pies. They’re quick, easy to prepare, and oh-so-delicious!
These mini treats are perfect for busy folks who still want to embrace their inner baker without the overwhelm. Speed is key—they bake in just 25 minutes, and you can prepare the filling while the crusts are baking. Plus, their individual sizes make them a hit at parties; everyone can pick one up and savor each bite without needing a fork or plate.
But let’s not forget about the memories these pies can create. Baking with loved ones can be a heartwarming experience that fosters connection and joy. Picture the laughter and excitement as everyone gathers around the kitchen, helping to mix the filling and roll out the dough. These adorable mini pumpkin pies not only taste great but also bring people together, making them a cherished fall tradition.
Practical Tips / Cooking Tips
- Use Fresh Pumpkin: If you have access to fresh pumpkin, try using it instead of canned. You’ll be amazed at how much richer the flavor is!
- Chill the Dough: If your pie dough feels warm and sticky while rolling it out, pop it in the fridge for 15-30 minutes. This makes it easier to handle.
- Spice It Up: Don’t be shy with the spices. A touch more cinnamon or a pinch of nutmeg can elevate your pies to the next level.
- Make Ahead: You can prepare the crusts and filling a day in advance. Just store them separately in the fridge, and assemble them when you’re ready to bake.
Nutritional Value / Health Benefits
These adorable mini pumpkin pies not only deliver on flavor but also pack a nutritious punch. Pumpkin is a powerhouse of vitamins and nutrients:
- Rich in Vitamins: Pumpkin is high in Vitamin A, which is essential for eye health and immune function.
- High in Fiber: The fiber content in pumpkin can help improve digestive health and keep you full longer.
- Low in Calories: If you’re looking for a guilt-free dessert option, pumpkin is naturally low in calories, especially when using a light sugar alternative.
Additionally, cinnamon and nutmeg, commonly used in pumpkin pie recipes, have anti-inflammatory properties and can help regulate blood sugar, making this treat not just charming but also beneficial in moderation!
Recipe Overview
Ingredients (with substitution options in table format)
| Ingredient | Substitution Options |
|---|---|
| 1 cup canned pumpkin puree | Fresh pumpkin puree (homemade or store-bought) |
| 1/2 cup sugar | Brown sugar or maple syrup |
| 1/2 tsp cinnamon | Allspice or pumpkin spice blend |
| 1/4 tsp nutmeg | Clove |
| 1 pie crust (store-bought or homemade) | Graham cracker crust |
| 2 large eggs | Flax eggs (1 tbsp flaxseed meal + 2.5 tbsp water per egg) |
| 1/2 cup evaporated milk | Coconut cream for a dairy-free option |
Instructions (step-by-step with cooking tips)
- Preheat Your Oven: Start by preheating your oven to 425°F (220°C). This high temperature will help the crust become beautifully golden.
- Prepare the Pie Crust: Roll out your dough and cut out circles that fit in your muffin tin. Use a 3-4 inch round cutter to ensure the perfect size for mini pies. Gently press the circles into the tin. If your dough is cracking, warm it slightly with your hands.
- Mix the Filling: In a medium bowl, combine the pumpkin puree, sugar, spices, eggs, and evaporated milk. Whisk together until smooth. This mixture should have a lovely orange hue—indicative of all the nutrients packed inside!
- Fill the Crusts: Carefully pour the pumpkin filling into each mini pie crust, filling them about 3/4 full to allow room for the filling to puff up as it bakes.
- Bake: Place the muffin tin in the oven. Bake at 425°F for 15 minutes and then lower the temperature to 350°F (175°C) and bake for an additional 10-15 minutes, until the filling is set and a toothpick inserted comes out clean.
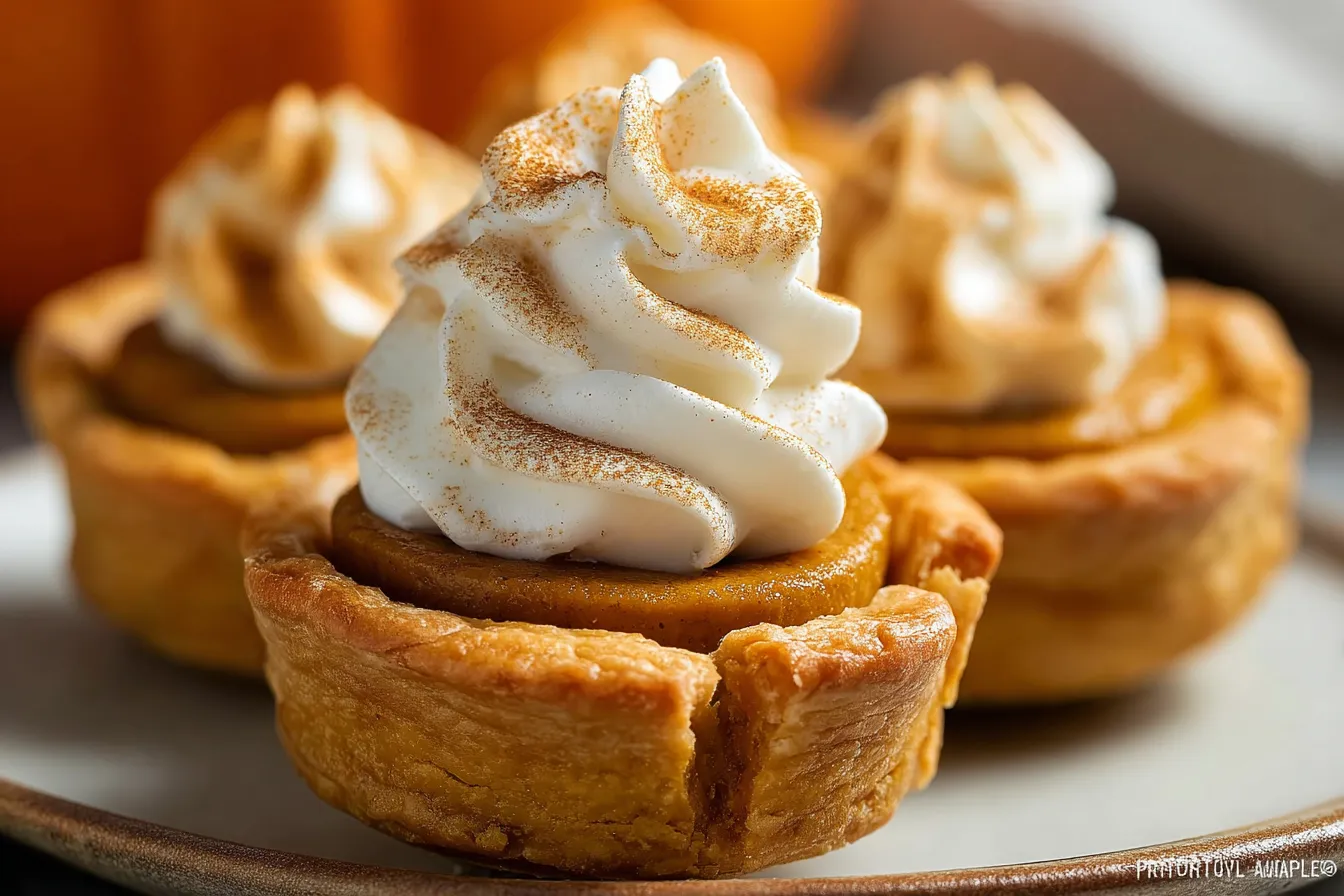
- Cool: Let them cool in the tin for 10 minutes before transferring them to a wire rack to cool completely. You can also serve them with whipped cream for an extra special touch!
FAQ
Can I make these mini pumpkin pies dairy-free?
Absolutely! You can easily substitute evaporated milk with coconut cream or any other dairy-free milk alternative you prefer.
What’s the best way to store leftover mini pumpkin pies?
Store your mini pumpkin pies in an airtight container in the refrigerator for up to three days. You can also freeze them if you’d like to keep them longer—just thaw them in the fridge before serving.
Can I use fresh pumpkin instead of canned pumpkin puree?
Yes! Fresh pumpkin puree will give your pies a richer flavor. Just make sure to cook the pumpkin until soft and blend it until smooth before using it in the recipe.
How can I make the crust from scratch?
For a simple homemade pie crust, mix 1 1/4 cups of all-purpose flour, 1/2 cup of unsalted butter (cold and cubed), and 1/4 tsp salt. Add ice water a tablespoon at a time until the dough holds together. Chill before rolling out.
Can I make these mini pies ahead of time?
Yes, you can prepare the filling a day in advance and store it in the fridge. Just bake the pies on the day you plan to serve them for the best texture and flavor!
What can I serve these mini pumpkin pies with?
They pair wonderfully with whipped cream, a drizzle of caramel sauce, or even a scoop of vanilla ice cream for those seeking an extra treat!
Conclusion
Making adorable mini pumpkin pies is not only a fun baking project but also a perfect way to embrace the flavors of fall. With their charming size, these pies are bound to delight everyone who takes a bite. So why not give this recipe a try? Gather your ingredients, invite your friends or family into the kitchen, and enjoy the cozy process of turning basic ingredients into delicious memories. Share your results and let the autumn festivities begin!