Easy Strawberry Crunch Cake: Nostalgic Homemade Dessert with Creamy Frosting
Easy Strawberry Crunch Cake: Nostalgic Homemade Dessert with Creamy Frosting
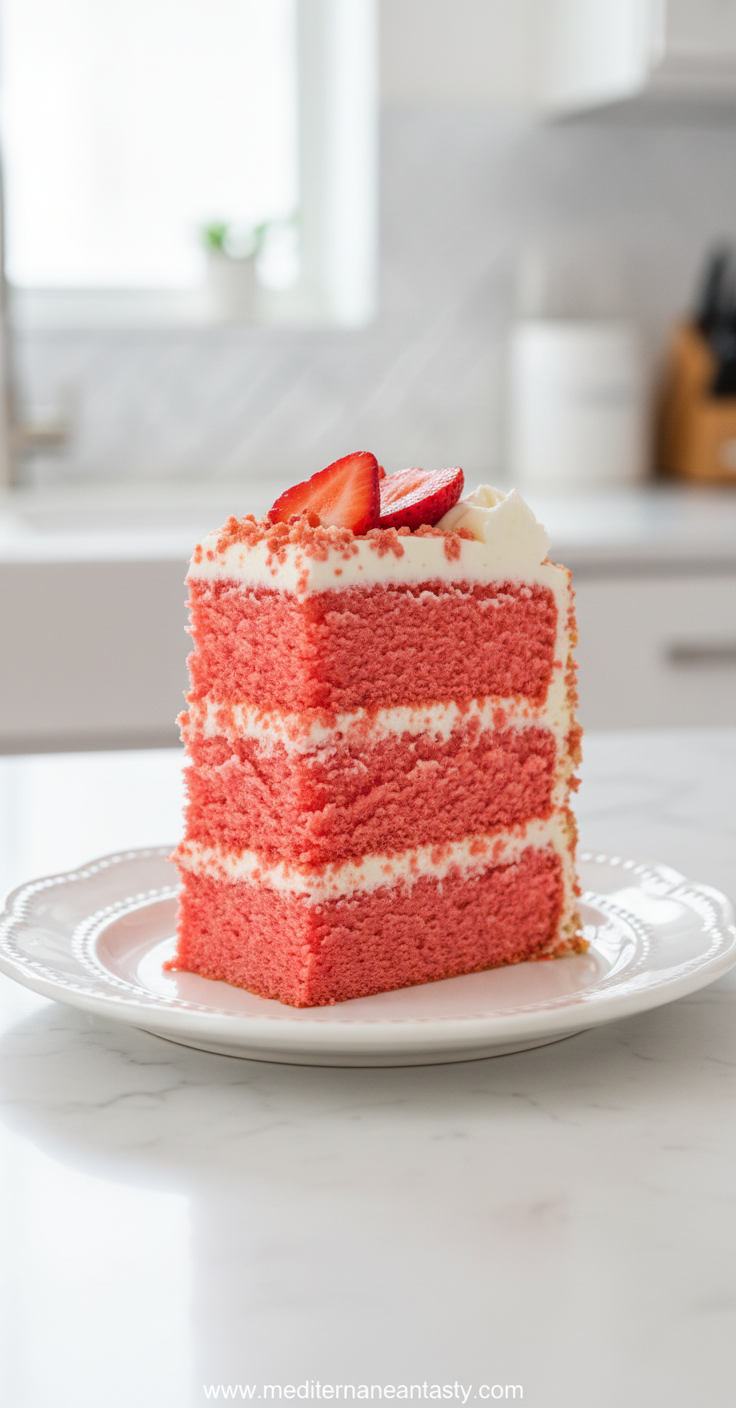
There’s something magical about the combination of creamy frosting, fluffy vanilla cake, and that irresistible crunchy topping that makes this strawberry crunch cake an instant favorite. Whether you’re planning a birthday celebration or simply craving a nostalgic homemade dessert, this recipe delivers that perfect balance of textures and flavors.
What makes this cake so special is its simplicity – no complicated techniques or hard-to-find ingredients required. The result is a stunning layer cake that looks like it came from a professional bakery but was made right in your own kitchen.
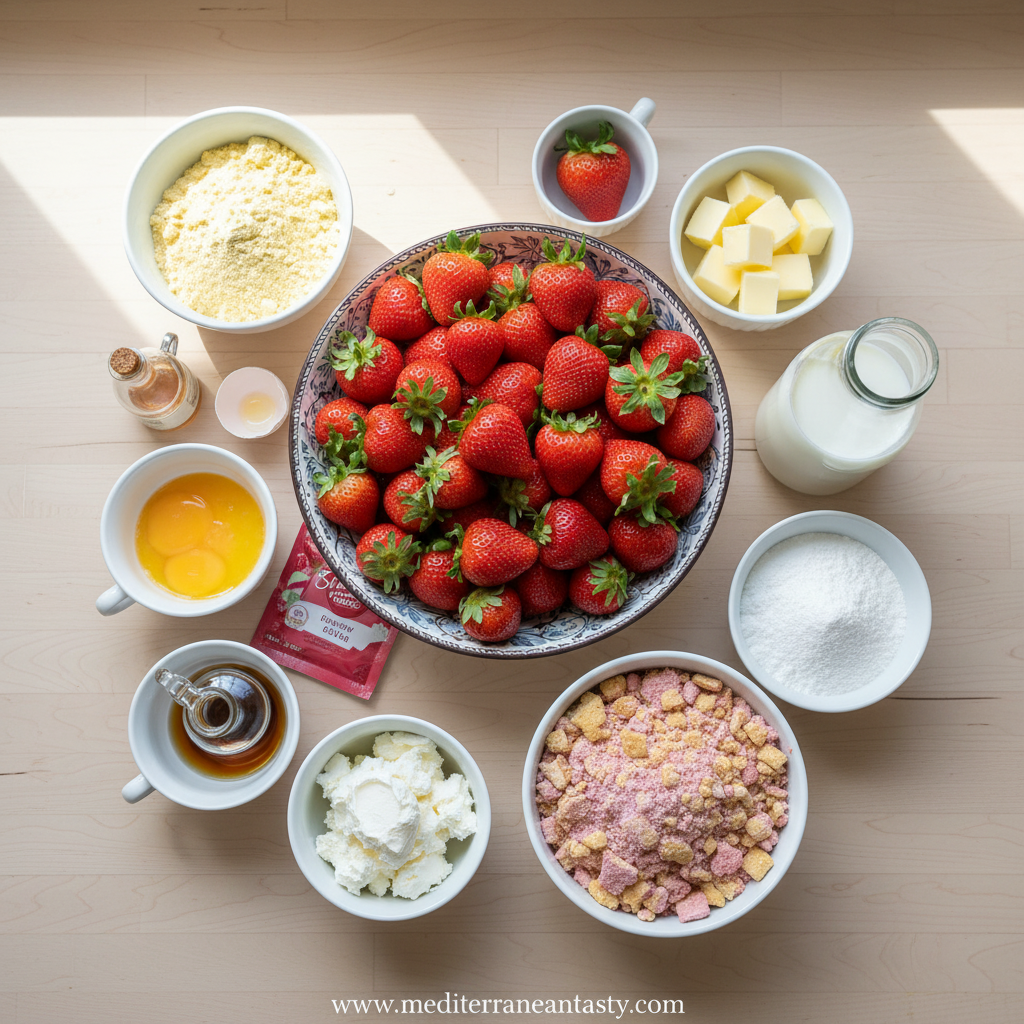
Ingredients
For the Cake:
- 2 ½ cups all-purpose flour
- 2 teaspoons baking powder
- ½ teaspoon baking soda
- ½ teaspoon salt
- ¾ cup unsalted butter, softened
- 1 ½ cups granulated sugar
- 3 large eggs
- 1 teaspoon vanilla extract
- 1 cup strawberry puree (fresh or frozen strawberries blended)
- ¾ cup buttermilk
For the Creamy Strawberry Frosting:
- 1 cup unsalted butter, softened
- 4 cups powdered sugar
- ⅓ cup strawberry puree
- 1 teaspoon vanilla extract
- 2-3 tablespoons heavy cream
- Pinch of salt
For the Crunchy Topping:
- 1 cup crushed golden Oreo cookies
- ¼ cup unsalted butter, melted
- 2 tablespoons strawberry powder (from freeze-dried strawberries)
- 2 tablespoons granulated sugar
Step-by-Step Instructions
Step 1: Prepare the Cake Batter
Preheat your oven to 350°F (175°C). Grease and flour two 9-inch round cake pans. In a medium bowl, whisk together flour, baking powder, baking soda, and salt. In a separate large bowl, cream together the softened butter and sugar until light and fluffy, about 3-4 minutes. Add eggs one at a time, beating well after each addition. Stir in vanilla extract.
Combine the strawberry puree and buttermilk in a small bowl. Gradually add the flour mixture to the butter mixture, alternating with the strawberry-buttermilk mixture, beginning and ending with the flour. Mix until just combined – don’t overmix.
Step 2: Bake the Cake Layers
Divide the batter evenly between the prepared pans and smooth the tops with a spatula. Bake for 25-30 minutes, or until a toothpick inserted into the center comes out clean. Cool in pans for 10 minutes, then transfer to wire racks to cool completely.
Step 3: Make the Frosting and Topping
While cakes cool, prepare the creamy strawberry frosting. Beat the softened butter until smooth, then gradually add powdered sugar, mixing on low speed until combined. Add strawberry puree, vanilla extract, and salt, then beat on medium-high until fluffy. Add heavy cream one tablespoon at a time until desired consistency is reached.
For the crunchy topping, combine crushed Oreos, melted butter, strawberry powder, and sugar in a small bowl. Mix until well combined.
Step 4: Assemble the Cake
Place one cake layer on a serving plate. Spread a generous layer of frosting over the top. Place the second layer on top and frost the entire cake with the remaining frosting. Press the crunchy topping mixture onto the sides and top of the cake. Chill for at least 30 minutes before serving to allow the frosting to set.
Expert Tips
For perfect layers: Use cake strips around your pans to ensure even baking and flat tops. If your cakes dome slightly, you can level them with a serrated knife before assembling.
Strawberry flavor boost: For an extra punch of strawberry flavor, you can add a few drops of strawberry extract to the frosting. Fresh strawberries sliced and placed between layers also add beautiful color and freshness.
Make ahead: This cake actually tastes better the next day as the flavors have time to meld. You can bake the layers up to two days in advance and store them wrapped tightly at room temperature.
If you love layer cakes, you might enjoy our One Bowl Chocolate Cake Recipe or our Brick Street Chocolate Cake for more decadent dessert options.
Frequently Asked Questions
Can I use frozen strawberries?
Yes! Frozen strawberries work perfectly for the puree. Just thaw them completely and drain any excess liquid before blending.
How should I store this cake?
Store the cake covered in the refrigerator for up to 5 days. Bring to room temperature for about 30 minutes before serving for the best texture.
Can I make this cake gluten-free?
Absolutely! Use your favorite gluten-free flour blend and ensure your Oreo alternatives are gluten-free. The texture will be slightly different but still delicious.
Looking for more party dessert inspiration? Check out our Indulgent Chocolate Sheet Cake or our Easy Chocolate Sheet Cake with Fudgy Frosting for crowd-pleasing options.
Easy Strawberry Crunch Cake: Nostalgic Homemade Dessert with Creamy Frosting
Ingredients
Method
- Preheat oven to 350°F (175°C). Grease and flour two 9-inch round cake pans. Whisk together flour, baking powder, baking soda, and salt in medium bowl. In large bowl, cream butter and sugar until light and fluffy (3-4 minutes). Add eggs one at a time, beating well after each. Stir in vanilla.
- Combine strawberry puree and buttermilk in small bowl. Gradually add flour mixture to butter mixture, alternating with strawberry-buttermilk mixture, beginning and ending with flour. Mix until just combined (don’t overmix). Divide batter evenly between prepared pans and smooth tops.
- Bake for 25-30 minutes until toothpick inserted comes out clean. Cool in pans for 10 minutes, then transfer to wire racks to cool completely.
- While cakes cool, prepare frosting: Beat softened butter until smooth, gradually add powdered sugar mixing on low speed. Add strawberry puree, vanilla extract, and salt, beat on medium-high until fluffy. Add cream gradually for desired consistency.
- Prepare crunchy topping: Combine crushed Oreos, melted butter, strawberry powder, and sugar in small bowl. Mix until well combined.
- Assemble cake: Place one cake layer on serving plate, spread generous layer of frosting. Place second layer on top and frost entire cake. Press crunchy topping onto sides and top. Chill 30 minutes before serving.