Artisan Pizza Dough: Crispy, Chewy, Bubbly Crust That Rivals Your Favorite Pizzeria
There’s something magical about biting into a slice of pizza with that perfect combination of crispy edges, chewy texture, and those beautiful airy bubbles that signal true artisan craftsmanship. While many of us have resigned ourselves to thinking that such pizza perfection can only be found at high-end pizzerias, I’m here to tell you that creating artisan pizza dough at home is not only possible but surprisingly simple.
This recipe transforms basic pantry staples into a dough that will elevate your homemade pizza game to professional levels. The secret lies not in complicated techniques or exotic ingredients, but in understanding the science of fermentation and gluten development. If you’ve ever wondered how those fancy pizza places achieve that signature texture, you’re about to discover that the magic is within your reach.
Why This Artisan Pizza Dough Recipe Stands Out
What makes this artisan pizza dough different from the standard recipes you might find online? The answer lies in its balance of simplicity and sophistication. Unlike our other pizza dough recipe that focuses on quick preparation, this version embraces the slow fermentation process that professional pizzerias swear by.
The beauty of this method is that it requires minimal active work from you. While the dough does its magic over several hours (or even days in the refrigerator), you’re free to focus on preparing your favorite toppings or simply enjoying the anticipation of the delicious pizza to come. This hands-off approach makes it perfect for busy home cooks who want restaurant-quality results without the stress.
The Science Behind Perfect Pizza Crust
Understanding what happens during the fermentation process will help you appreciate why this artisan pizza dough delivers such exceptional results. When yeast interacts with flour and water over an extended period, it creates complex flavors and develops the gluten structure that gives pizza crust its characteristic chewiness.
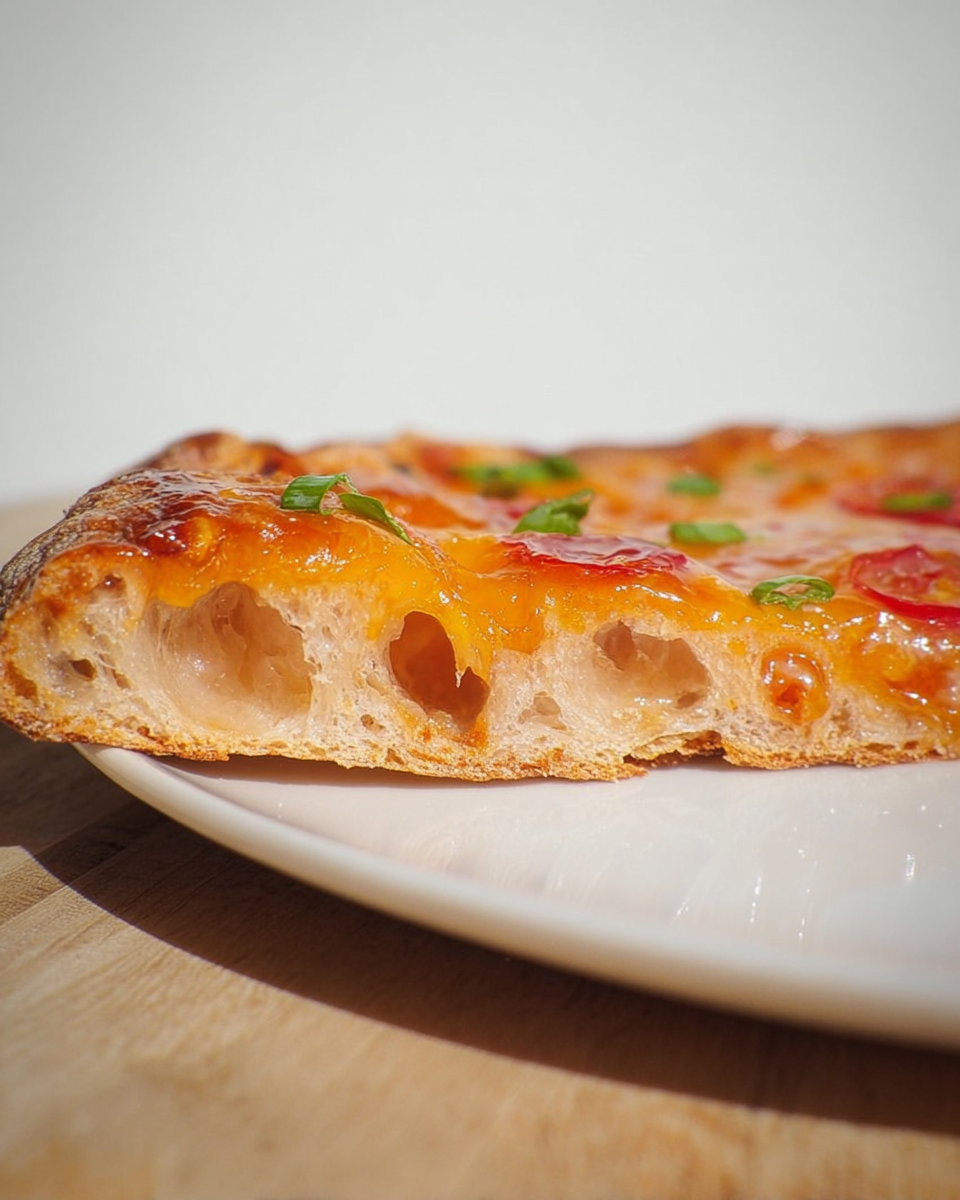
The bubbles you see in professional pizza crust aren’t just for show – they’re evidence of proper fermentation. These air pockets create that light, airy texture while the areas between them develop into crispy, golden-brown perfection when baked at high temperatures. It’s this combination of textures that separates ordinary pizza from extraordinary artisan pizza.
Essential Equipment for Artisan Pizza Success
While you don’t need a professional pizza oven to achieve great results, having the right tools can make a significant difference. A pizza stone is highly recommended as it helps replicate the intense bottom heat of commercial pizza ovens, ensuring your crust gets that perfect crispness.
If you don’t have a pizza stone, don’t worry – a preheated baking sheet turned upside down can work surprisingly well. The key is to get your cooking surface as hot as possible before sliding the pizza onto it. A pizza peel makes transferring the pizza much easier, but the back of a baking sheet can serve as a decent substitute.
Mastering the Art of Dough Handling
One of the most common mistakes home cooks make when working with pizza dough is over-handling it. Artisan dough should be treated gently to preserve those precious air bubbles that develop during fermentation. When shaping your dough, think of it as coaxing rather than forcing it into shape.
If the dough seems resistant to rolling, that’s actually a good sign – it means the gluten is well-developed. Simply let it rest for 5-10 minutes to allow the gluten to relax, then continue shaping. This patience pays off in the final texture of your crust. Remember that perfection isn’t the goal – rustic, irregular shapes often have more character than perfectly round pizzas.
Creative Topping Combinations to Try
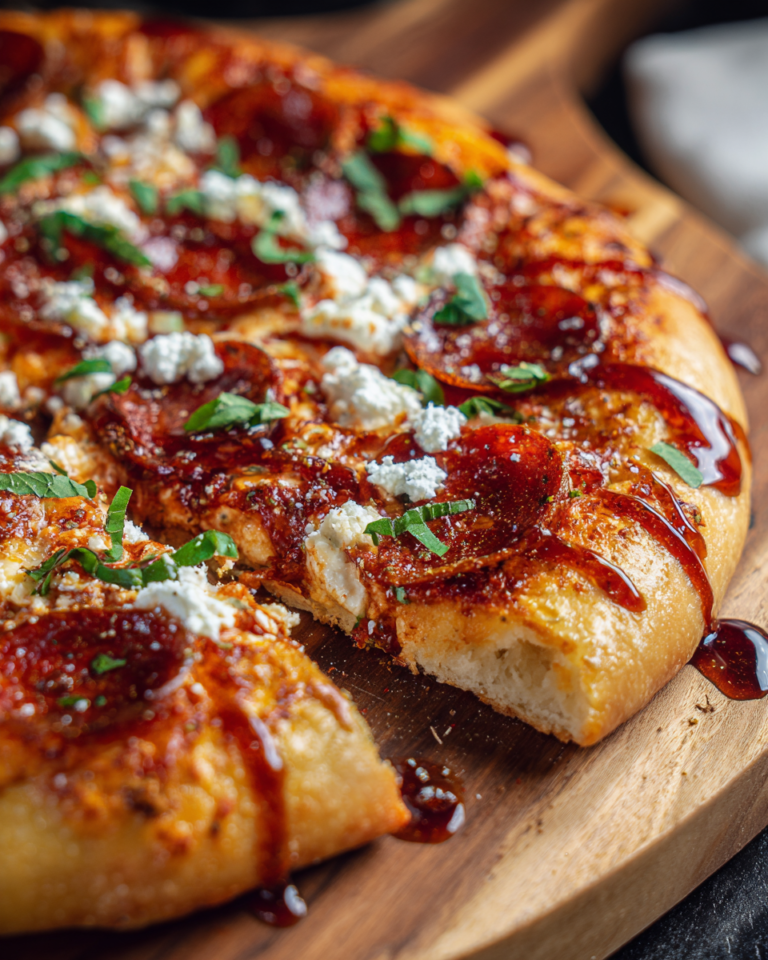
Once you’ve mastered the art of artisan pizza dough, the real fun begins with creative topping combinations. While classic margherita is always a winner, don’t be afraid to experiment. The beauty of this crust is that it can handle both simple and complex toppings with equal grace.
For a gourmet twist, try recreating the flavors of our balsamic mushroom and goat cheese pizza – the earthy mushrooms and tangy cheese pair beautifully with the chewy crust. Or if you’re feeling adventurous, why not try a BBQ chicken variation? The sweet and savory flavors complement the crispiness of the crust perfectly.
Remember that with artisan pizza dough, less is often more when it comes to toppings. A heavy hand with ingredients can weigh down the crust and prevent it from achieving its full potential. Focus on quality over quantity, and let the crust shine as the star of the show.
The Magic of Cold Fermentation
One of the professional secrets this recipe incorporates is the option for cold fermentation. After the initial rise at room temperature, you can refrigerate the dough for up to three days. This extended cold fermentation develops even more complex flavors and improves the texture of the final crust.
This make-ahead aspect makes this artisan pizza dough perfect for entertaining. You can prepare the dough days before your pizza party, then simply pull it from the refrigerator when you’re ready to bake. The dough will be easier to handle after chilling, and the flavor will have deepened beautifully.
Troubleshooting Common Pizza Dough Issues
Even with this foolproof recipe, you might encounter some common challenges. If your dough isn’t rising properly, check that your yeast is fresh and that your water temperature isn’t too hot (which can kill the yeast) or too cold (which can slow fermentation). Room temperature water is ideal for activating the yeast without risking damage.
If your crust isn’t as crispy as you’d like, make sure your oven is fully preheated and that you’re using a pizza stone or hot baking surface. The high heat is crucial for creating that signature crispness. Also, avoid overloading with sauce – too much moisture can make the crust soggy.
Beyond Pizza: Other Uses for Artisan Dough
While this dough is perfect for pizza, its versatility doesn’t end there. The same dough can be shaped into delicious breadsticks, calzones, or even used as a base for breakfast pizza variations. The chewy texture and complex flavor make it adaptable to many different applications.
You can also experiment with different flour combinations. While all-purpose flour works beautifully, substituting part of it with whole wheat flour adds nutty flavor and nutritional benefits. Just keep in mind that whole wheat flour absorbs more liquid, so you may need to adjust the water slightly.
Storing and Freezing Your Artisan Dough
One of the great advantages of this recipe is its freezer-friendly nature. After the initial rise, you can portion the dough, wrap it tightly in plastic wrap, and freeze it for up to three months. When you’re ready to use it, simply transfer it to the refrigerator to thaw overnight, then bring it to room temperature before shaping.
This makes it easy to always have artisan pizza dough on hand for impromptu pizza nights or last-minute entertaining. Having frozen dough portions ready to go means you’re never more than a few hours away from fresh, homemade pizza that rivals your favorite pizzeria.
Whether you’re a pizza novice or an experienced home cook looking to up your game, this artisan pizza dough recipe will transform your homemade pizza experience. The combination of crispy, chewy, and bubbly textures creates that professional quality we all crave, while the simple, no-knead method makes it accessible to everyone. Give it a try and discover why so many home cooks are falling in love with artisan pizza making.
Artisan Pizza Dough – Crispy, Chewy, Bubbly Crust
Ingredients
Equipment
Method
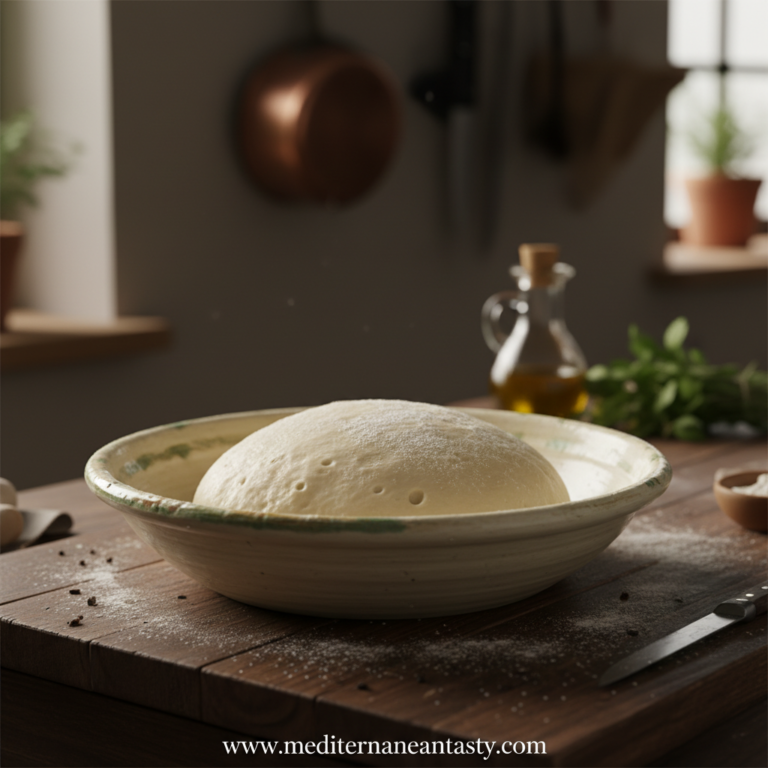
- Stir together the flour, salt and yeast in a large bowl. Mix in the water and use a rubber spatula or wooden spoon to work the dough until fully combined. Shape loosely into a ball.
- Cover the dough with plastic wrap or a tight lid and allow to rise at room temperature for 2-3 hours until bubbly and doubled in size.
- Optional: After rising, place covered in the refrigerator for up to 3 days.
- Preheat the oven to 475 °F. Place a pizza stone on the centre rack.
- Prepare 4 sheets of parchment paper. Rip into 12 inch/30 cm long sheet and lightly flour.
- Use a knife or spatula to divide the dough into 4 (or 8 for individual pizzas). Flour your hands and scoop 1/4 of the dough out of the bowl, lightly shape into a round ball and place in the centre of the prepared parchment.
- Flour a rolling pin and starting from the centre of the dough, roll out, rotating the parchment after each roll in order to shape it into a circle. If it seems tough to roll, leave it for 5-10 minutes to allow the gluten to relax.
- Top with 1/4 cup of sauce, 1-2 cups of desired toppings and 1 and 1/2 cups of cheese.
- Slide the assembled pizza onto a pizza peel (still on the parchment) or the back of a large baking sheet. Carefully transfer on to the heated pizza stone.
- Bake for 9-11 minutes until the crust is golden and the cheese is lightly brown and bubbly.
- Transfer the cooked pizza off the baking stone and back onto the peel/baking sheet (BE CAREFUL- it’s hot!). Place on a cooling rack for a couple of minutes.
- Peel the parchment paper from the bottom, slice and serve.