Timeless Classic Beef Pot Pie: Authentic Recipe with Golden Crust
Timeless Classic Beef Pot Pie: Authentic Recipe with Golden Crust
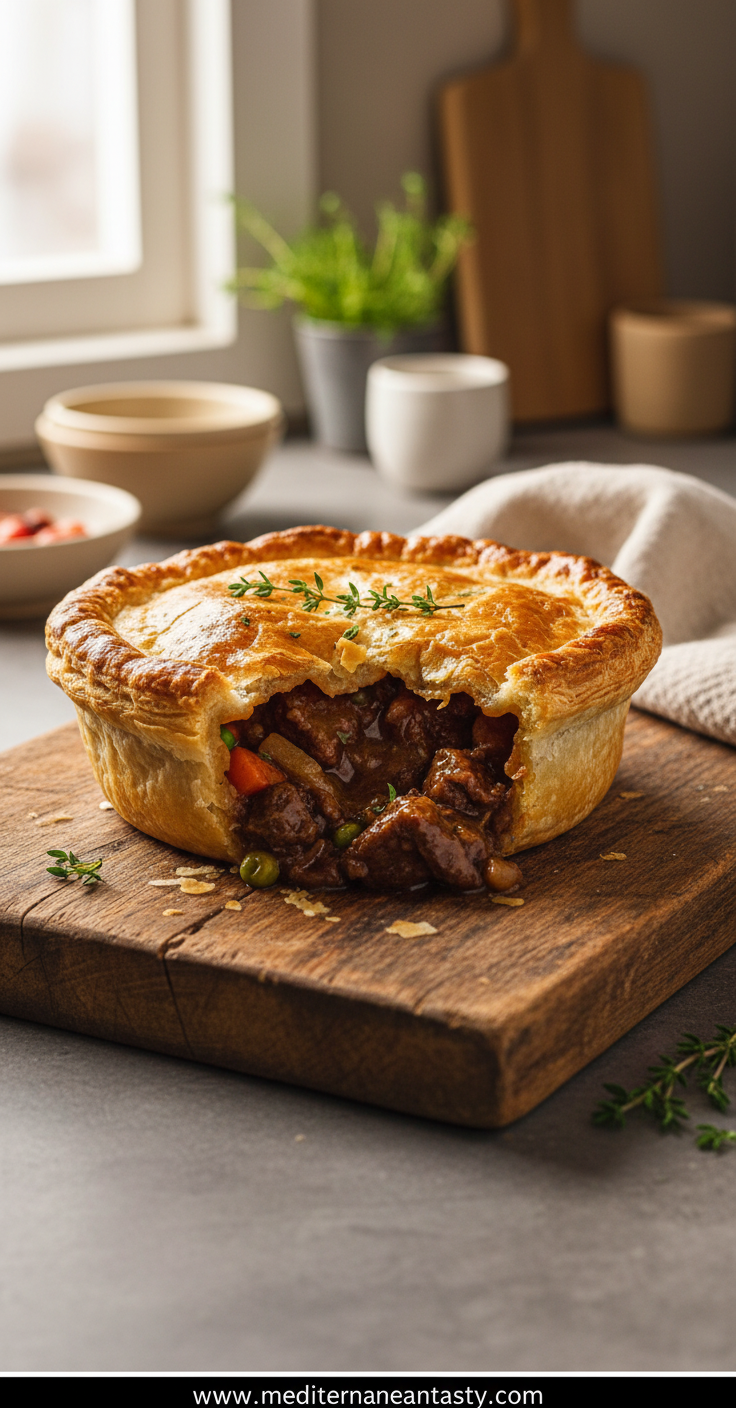
There’s something truly special about a classic beef pot pie that brings comfort and nostalgia to any dinner table. This traditional recipe features tender beef simmered in a rich gravy with vegetables, all encased in a golden, flaky crust that’s both beautiful and delicious. Whether you’re looking for a cozy family dinner or a show-stopping meal for guests, this authentic beef pot pie delivers on every level.
What makes this recipe stand out is its perfect balance of flavors and textures. The savory beef filling becomes incredibly tender through slow cooking, while the vegetables add natural sweetness and nutrition. The crust bakes to perfection, creating that signature golden-brown finish that makes pot pie such a beloved comfort food.
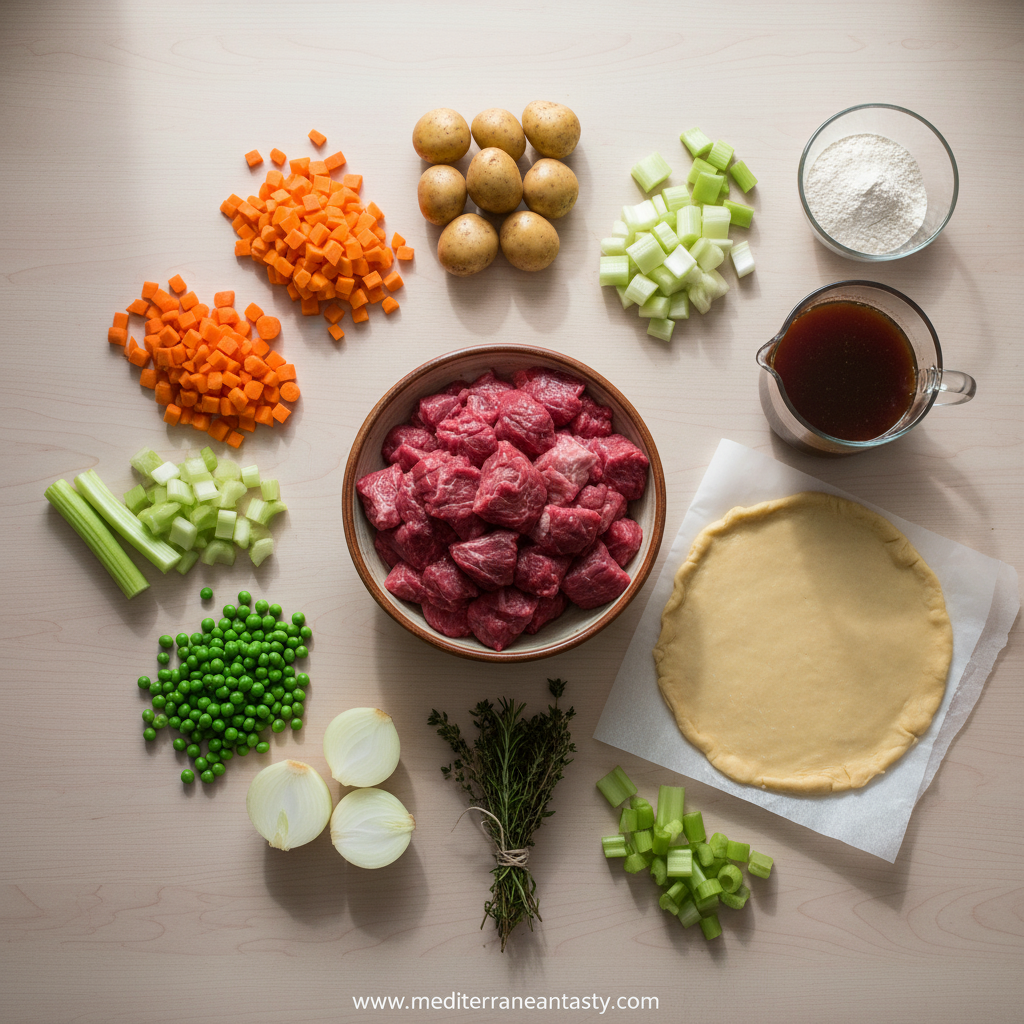
Ingredients
For the Filling:
- 2 lbs beef chuck roast, cut into 1-inch cubes
- 2 tablespoons olive oil
- 1 large onion, diced
- 3 carrots, peeled and sliced
- 2 celery stalks, sliced
- 3 cloves garlic, minced
- 1/4 cup all-purpose flour
- 4 cups beef broth
- 1 teaspoon Worcestershire sauce
- 1 teaspoon dried thyme
- 1 bay leaf
- 1 cup frozen peas
- Salt and black pepper to taste
For the Crust:
- 2 sheets puff pastry or pie crust
- 1 egg, beaten (for egg wash)
Step-by-Step Instructions
Step 1: Prepare the Beef
Season the beef cubes generously with salt and pepper. Heat olive oil in a large Dutch oven over medium-high heat. Brown the beef in batches, ensuring each piece gets a nice sear on all sides. This step is crucial for developing deep flavor in your pot pie filling.
Step 2: Cook the Vegetables
Reduce heat to medium and add the onion, carrots, and celery to the pot. Cook for 5-7 minutes until vegetables begin to soften. Add the minced garlic and cook for another minute until fragrant.
Step 3: Create the Gravy
Sprinkle the flour over the vegetables and beef, stirring constantly for 2 minutes to cook out the raw flour taste. Gradually pour in the beef broth while stirring continuously to prevent lumps. Add Worcestershire sauce, thyme, and bay leaf.
Step 4: Simmer the Filling
Bring the mixture to a simmer, then reduce heat to low, cover, and cook for 1.5-2 hours until the beef is fork-tender. Stir occasionally to prevent sticking. Remove from heat, stir in frozen peas, and discard the bay leaf.
Step 5: Assemble the Pie
Preheat oven to 400°F (200°C). Transfer the beef filling to a 9-inch pie dish. Roll out one sheet of pastry to fit the top of the dish. Place over the filling, trim excess, and crimp edges. Cut slits in the top for steam to escape. Brush with beaten egg for a golden finish.
Step 6: Bake to Perfection
Bake for 30-35 minutes until the crust is golden brown and the filling is bubbling. Let rest for 10 minutes before serving to allow the filling to set.
Expert Tips for the Perfect Beef Pot Pie
Choose the Right Cut: Beef chuck roast is ideal for pot pie because it becomes incredibly tender when slow-cooked. Avoid lean cuts that can become tough.
Don’t Rush the Browning: Taking time to properly brown the beef creates fond (those browned bits at the bottom of the pan) that adds incredible depth of flavor to your gravy.
Thicken to Your Preference: If you prefer a thicker filling, mix 1 tablespoon of cornstarch with 2 tablespoons of cold water and stir it into the simmering filling during the last 10 minutes of cooking.
Make Ahead Friendly: You can prepare the filling up to 2 days in advance and store it in the refrigerator. Assemble and bake when ready to serve for fresh, hot pot pie.
For more comforting dinner ideas, try our Creamy Chicken Ranch Pasta or explore our collection of elegant weeknight dinners.
Frequently Asked Questions
Can I use store-bought pastry?
Absolutely! Quality store-bought puff pastry or pie crust works wonderfully and saves time. Look for all-butter varieties for the best flavor.
How long does beef pot pie keep?
Leftovers can be stored in the refrigerator for 3-4 days. Reheat individual portions in the oven at 350°F for best results, as the microwave can make the crust soggy.
Can I freeze beef pot pie?
Yes, you can freeze the unbaked assembled pie for up to 3 months. Wrap tightly in plastic wrap and foil. Bake from frozen, adding 10-15 minutes to the baking time.
What vegetables can I add?
Potatoes, mushrooms, and pearl onions are excellent additions. For more vegetable inspiration, check out our garlic butter green beans recipe.
This timeless classic beef pot pie is more than just a meal—it’s a comforting experience that brings people together. The golden crust, savory filling, and heartwarming aroma make it perfect for family dinners, casual gatherings, or whenever you need a dose of culinary comfort. Enjoy creating this heritage dish that’s stood the test of time!
Timeless Classic Beef Pot Pie: Authentic Recipe with Golden Crust
Ingredients
Method
- Season the beef cubes generously with salt and pepper. Heat olive oil in a large Dutch oven over medium-high heat. Brown the beef in batches, ensuring each piece gets a nice sear on all sides.
- Reduce heat to medium and add the onion, carrots, and celery to the pot. Cook for 5-7 minutes until vegetables begin to soften. Add the minced garlic and cook for another minute until fragrant.
- Sprinkle the flour over the vegetables and beef, stirring constantly for 2 minutes to cook out the raw flour taste. Gradually pour in the beef broth while stirring continuously to prevent lumps. Add Worcestershire sauce, thyme, and bay leaf.
- Bring the mixture to a simmer, then reduce heat to low, cover, and cook for 1.5-2 hours until the beef is fork-tender. Stir occasionally to prevent sticking. Remove from heat, stir in frozen peas, and discard the bay leaf.
- Preheat oven to 400°F (200°C). Transfer the beef filling to a 9-inch pie dish. Roll out one sheet of pastry to fit the top of the dish. Place over the filling, trim excess, and crimp edges. Cut slits in the top for steam to escape. Brush with beaten egg for a golden finish.
- Bake for 30-35 minutes until the crust is golden brown and the filling is bubbling. Let rest for 10 minutes before serving to allow the filling to set.